

2:17 AM Electric water heater installation, repair | |
If you are looking for guidance and information about the installation of an electric water heater, you've come to the right place.
In this section, we will guide you through the process step by step, ensuring a smooth and hassle-free installation. Before getting started, it's important to note that if you are not comfortable working with electricity or plumbing, we recommend hiring a professional electrician and plumber to ensure the job is done safely and efficiently.
Now, let's dive into the installation process! 1: Planning and Preparation First, determine the right location for your electric water heater. It should be easily accessible for maintenance and have proper ventilation to prevent overheating. Make sure to also check your local building codes and regulations before proceeding.
2: Gathering the necessary tools and materials To complete the installation, you'll need a few tools and materials, such as a pipe cutter, adjustable wrench, Teflon tape, wire strippers, a voltage tester, and of course, your electric water heater. Be sure to follow the manufacturer's recommendations when selecting your water heater.
3: Shut off the power and water supply Before starting any work, turn off the power supply to the area where the water heater is being installed. Locate the electrical circuit breaker panel and switch off the corresponding circuit. Additionally, shut off the water supply to prevent any leaks during the installation process.
4: Removal of the old water heater (if applicable) If you're replacing an old water heater, disconnect it from the power supply and plumbing. Drain the water by attaching a hose to the drain valve and directing it to a suitable drain or outside location. Once drained, carefully remove the old water heater from its location.
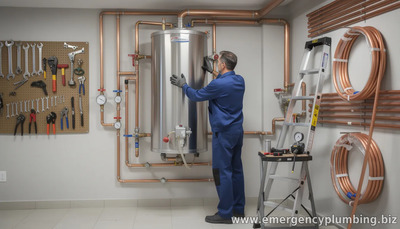
5: Installation of the new water heater Place the new water heater in the desired location, ensuring it is stable and level. Connect the water supply lines using the appropriate fittings and secure them tightly with a wrench. Apply Teflon tape to the threaded connections to prevent leaks.
6: Electrical connections Follow the manufacturer's instructions to connect the electrical wiring to the water heater. Ensure that the power supply matches the voltage requirements of the unit. If you are unsure about the electrical connections, it's best to consult a licensed electrician for assistance.
7: Filling and testing With the electrical and water connections complete, slowly turn on the water supply to fill the tank. Inspect all water connections for any leaks and promptly address any issues if they arise. Once the tank is filled, restore power to the water heater.
8: Safety measures To ensure safe operation, it is crucial to set the temperature and pressure relief valve according to the manufacturer's instructions. This valve is designed to release excess pressure and prevent the tank from bursting. Regularly check and maintain this valve to ensure its functionality. Congratulations! You have successfully installed your electric water heater.
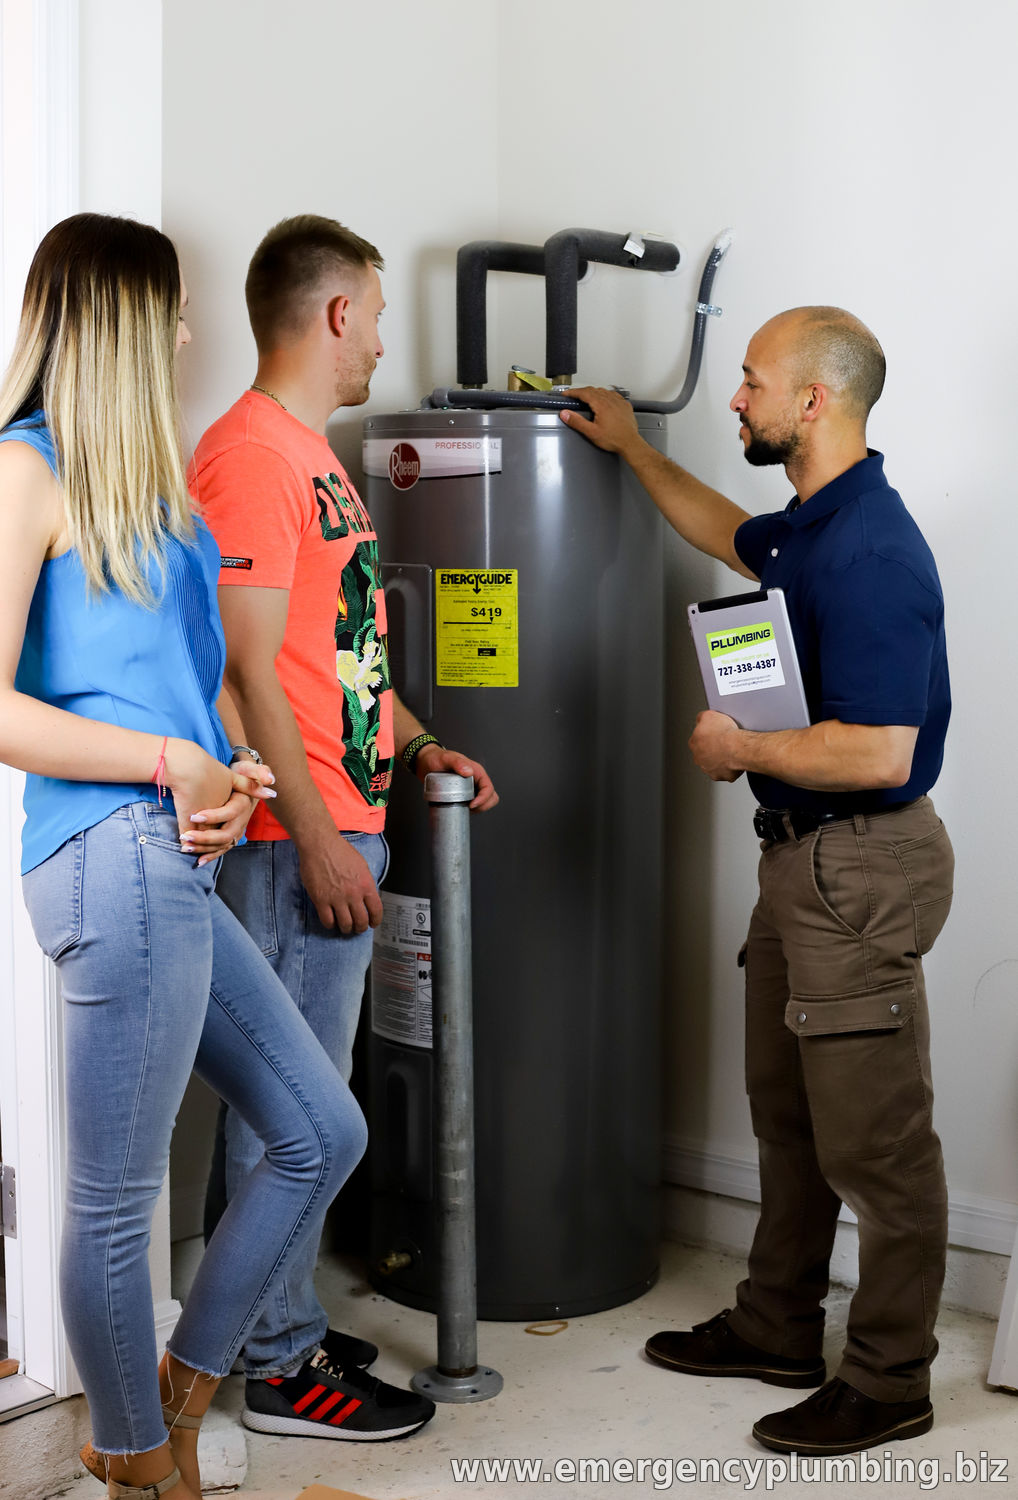
Professional Water Heater Installation and Repair by Licensed Plumbers in Highland Park, Glencoe, and Surrounding Areas
When it comes to water heater installation and repair, the expertise of a licensed plumber is invaluable. For residents of Highland Park, Glencoe, Deerfield, Northbrook, Lake Forest, Lake Bluff, and Winnetka, we strongly recommend utilizing our skilled and licensed plumbing professionals from Emergency Plumbing.
| |
⏰ Dispatcher support 24/7
📞 224-754-1984CALL ☎ Subscribe 👆 FORUM 🗣
North Shore, Northwest suburbs of Chicago, IL
Next & Previous posts
Related articles:

![]()
| Total comments: 0 | |