REQUEST A QUOTE 📩

Submit the form, we'll contact you as soon as possible!


Name:
Email *:
Phone *:
Message *:
Select type of service *:
Your area *:
Add file (15 Mb MAX):
Security code *:

Emergency plumbing, plumber near me, service, HVAC, IL


12:00 PM

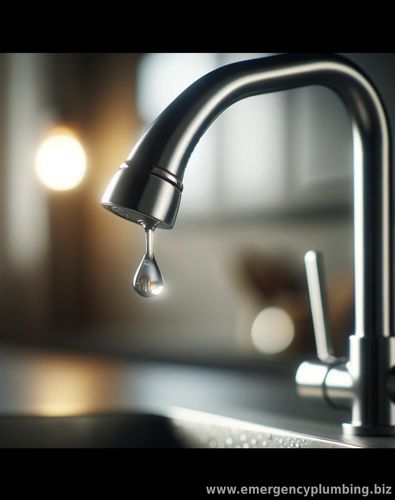
The Drip, Drip, Drip of a Leaky Faucet


Let's face it: That persistent drip-drip-drip echoing from your bathroom or kitchen sink is not only annoying, but it's also a frustrating waste of water and money. A leaky faucet isn't just a minor inconvenience, it adds to your water bill and can damage your fixtures over time.

Don't despair! Fixing a leaky faucet is a relatively simple DIY project that most homeowners can tackle with a few basic tools.

What makes faucet to leak ?


Before you dive in, understanding the common causes of leaks will help you pinpoint the culprit:

  • Worn-out washers: Washers, usually made of rubber, are the most frequent cause for leaks.
  •  These create a seal and wear down or become stiff with time.
  • Corroded O-rings: O-rings are small rubber seals found in some faucet handles.
  •  They can wear out or deteriorate with use.
  • Damaged valve seat: The valve seat is where the washer connects at the base of the spout.
  •  Corrosion or mineral deposits can cause pitting and leaks.
  • Loose parts: Over time, parts inside your faucet can naturally loosen, causing leaks.


Fixing the Leak: DIY Guide


Tools you'll likely need:

  • Adjustable wrench
  • Screwdriver
  • Plumber's grease
  • Replacement parts (washers, O-rings, or cartridges depending on your faucet type)
  • Seat wrench (optional, for removing valve seats)


Steps:

  1. Turn off the water supply: Locate the shut-off valves under the sink and turn them off.
  2. Open the faucet: Drain residual water from the faucet.
  3. Disassemble the faucet: Carefully remove the handle, noting the order of parts for reassembly.
  4. Inspect the parts: Look for worn washers, damaged O-rings, or a corroded valve seat.
  5. Replace the culprit: Replace any worn-out washers, O-rings, or cartridges with matching parts.
  6. Reassemble the faucet: Put everything back together in reverse order. Apply a small amount of plumber's grease to lubricate O-rings.
  7. Turn on the water: Test for leaks.


Types of Faucets:


While the general steps apply, the specifics depend on your faucet type:

  • Compression faucets have separate hot and cold handles and usually rely on washers
  • Ball faucets have a single handle above a ball-shaped cap
  • Cartridge faucets are also single-handled, with a cylindrical cartridge inside.
  • Ceramic disc faucets use two smooth ceramic discs to control water flow


Getting Help

If you are unsure of the faucet type, have trouble finding the source of the leak, or the fix seems too complicated, it's always best to consult licensed plumber to avoid further damage.


Additional Tips:

  • To prevent future leaks, consider replacing old faucets with modern washers.
  • Don't overtighten parts when reassembling, as this can cause damage.


Remember, fixing a leaky faucet doesn't have to be frustrating.

Call Emergency Plumbing , your plumber near me Highland Park and Glenview, Lake Forest and Lake Bluff Illinois.

We service Bannockburn and Mettawa, Northfield, Riverwoods and Lincolnshire, Vernon Hills and beyond.


This link is affiliate link, meaning we may earn a commission if you click and make a purchase through it , at no extra cost for you.

14-in-1 Multi-functional Wrench for Toilet, Sink, Bathroom, Kitchen Plumbing Installation and Repair

https://amzn.to/49z7D82


Category: Plumber near me | 11/24/2024 | Views: 236 | Added: konstantinknight9 | Rating: 5.0/1


⏰ Dispatcher support 24/7

📞 224-754-1984

CALL ☎ Subscribe 👆 FORUM 🗣

North Shore, Northwest suburbs of Chicago, IL


Next & Previous posts


Total comments: 0
avatar


REQUEST A QUOTE 📩

Name:
E-mail *:
Phone *:
Select type of service *:
Your area *:
Message *:
Add file (15 Mb MAX):
Security code *: