

2:23 AM Construction Plumbing Checklist for Builders | |
Plumbing failures are among the most expensive construction problems to fix after walls and slabs are closed. A standardized construction plumbing checklist helps builders confirm that every line, fitting, vent, and drain assembly meets drawings, manufacturer requirements, and local code before final sign-off. Pre-installation checks (before breaking ground)
Start by verifying the plumbing scope against the latest approved plans: fixture count and locations, pipe sizes and materials, venting strategy, storm vs. sanitary routing, and any special systems such as recirculation, backflow prevention, or water heaters. Confirm that rough-in dimensions (benchmarks, floor elevations, wall thicknesses) align with structural and architectural details to avoid clashes.
Next, stage the right materials and verify compatibility: matching pipe and fitting types, correct gaskets (for gasketed systems), approved sealants and primers (for solvent-weld systems), and pressure ratings. Document brand, model, and size for critical components like backflow devices, pressure regulators, and water heaters. Rough-in checklist (during installation)
As rough-in work progresses, check routing and supports early. Ensure proper pipe slope for drains, secure hangers and straps at appropriate intervals, and maintain required clearances from electrical, ventilation ducts, and structural members. Verify that all penetrations are located and sealed correctly where pipes pass through slabs, walls, fire-rated assemblies, or rated partitions.
Inspect venting and trap arm details. Confirm vents terminate correctly, vent sizes match the design, and traps are installed for each fixture type. Pay special attention to kitchen and laundry fixture connections, combination waste-and-vent arrangements (where used), and any long horizontal runs that can affect drainage performance.
Water supply lines should be checked for cleanliness, proper identification (hot vs. cold), correct insulation where required, and secure connections. If cross-linked polyethylene (PEX) or similar tubing is used, verify the manufacturer’s installation method, bend radius limits, and proper crimp or expansion practices. For metal systems, confirm threading, sealing method, and corrosion protection requirements. Testing and verification (before closing up)
Require formal testing before drywall, ceilings, or insulation are installed. Pressure test the domestic water lines to the required test pressure and duration per code and manufacturer instructions, and document results. For drainage systems, run a rough-in test appropriate to the jurisdiction—commonly a water test for drains and vents or an air test where permitted.
During testing, look for common failure points: loose fittings, incorrect slope, missing cleanouts, improper vent tie-ins, and undersized or misrouted components. Confirm that shutoff valves operate smoothly where installed, and that backflow prevention devices are protected from contamination and installed in the correct orientation. Final connection and commissioning (after fixtures are set)
After fixtures are installed, verify supply and drain connections are correct, watertight, and aligned with the fixture manufacturer specifications. Check that faucet flow rates, aerators, and shower components are installed properly, and that final torque and connection methods match the product requirements.
Complete commissioning by flushing supply lines to remove debris, then re-check for leaks under operating conditions. Confirm that water heater settings are correct, the temperature and pressure relief path is routed safely, and any recirculation system controls (timers, pumps, valves) function as intended.
Finally, document closeout items: test reports, as-built revisions (if any), photos of concealed work where permitted, warranty details for key components, and maintenance guidance for homeowners. This documentation streamlines inspections and reduces disputes if issues surface after handover.
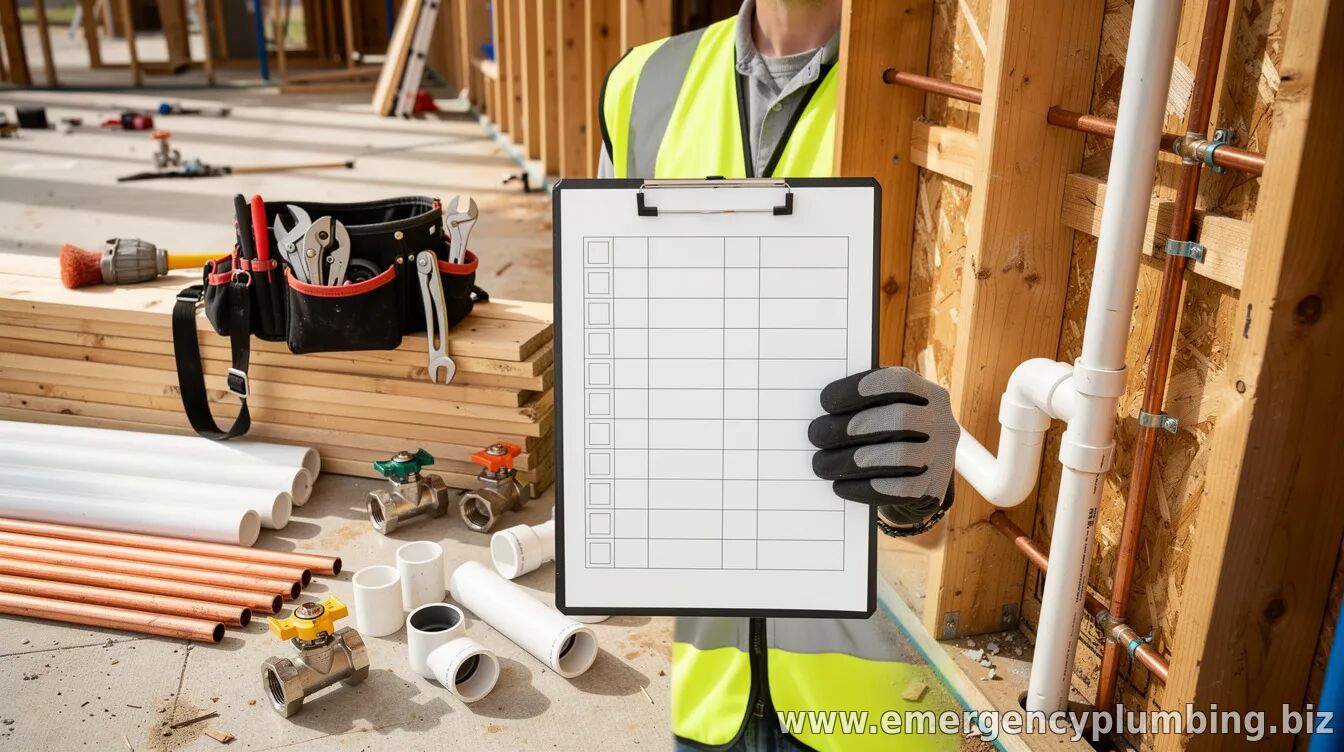
For builders, a checklist is most effective when it’s paired with sign-offs at each milestone. Assign clear ownership (plumber, site supervisor, inspector liaison) for each verification step, and use the same checklist across projects to build consistency and measurable quality outcomes.
| |
⏰ Dispatcher support 24/7
📞 224-754-1984CALL ☎ Subscribe 👆 FORUM 🗣
North Shore, Northwest suburbs of Chicago, IL
Next & Previous posts