


2:28 AM Freestanding Bathtub and Faucet Installation Guide | |
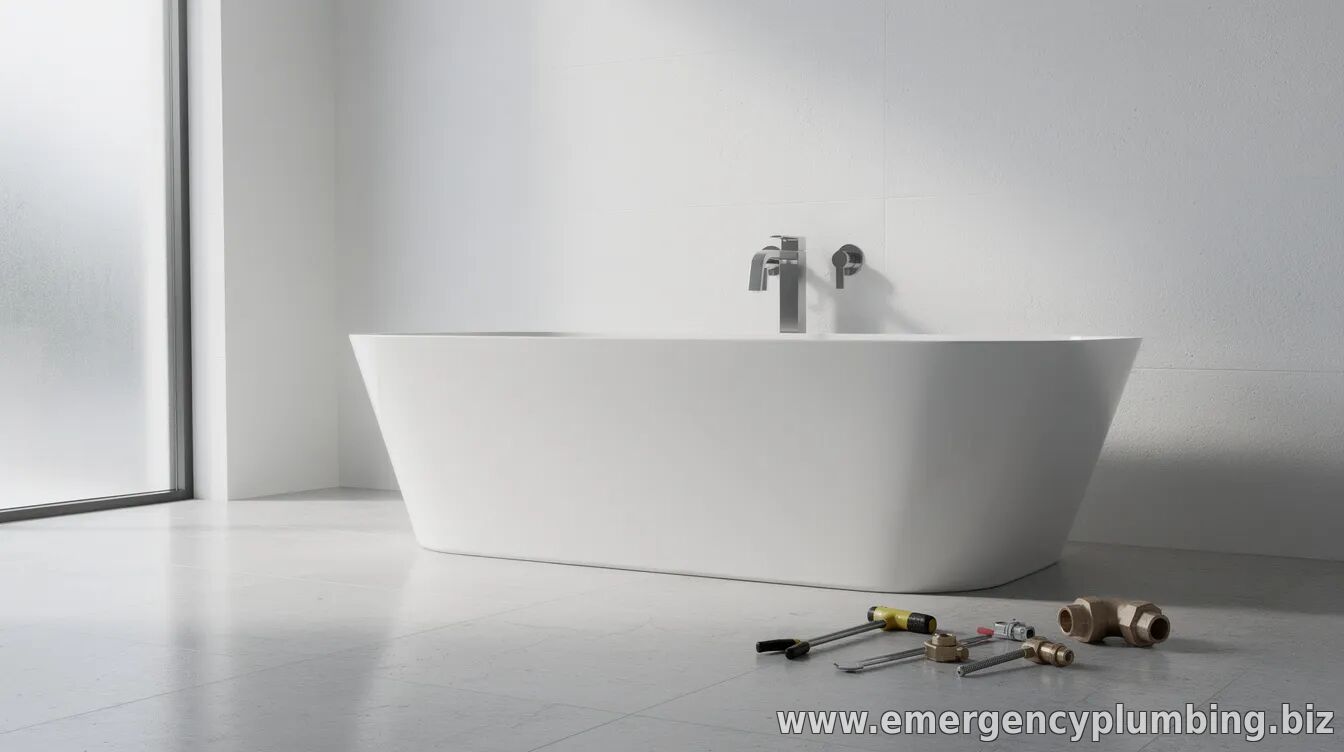
Freestanding bathtubs are popular because they create a focal point and allow more layout flexibility than drop-in or alcove tubs. But installation is more technical than it looks: you’re typically working with a dedicated tub waste/overflow connection, a specific faucet configuration, and a floor that must be able to support the tub’s full load.
Below is a practical, news-style checklist for planning and installing a freestanding bathtub and faucet—focused on preventing leaks, avoiding misalignment, and keeping the project within the expectations of typical plumbing code. If you’re unsure about local requirements or plumbing access, consider consulting a licensed plumber. 1) Pre-install planning: measure, verify, and dry-fit
Before purchasing or opening the finish materials, confirm clearances and rough-in needs. Measure from the tub’s intended position to your water-supply and drain locations (or to the point where the drain connection will be brought up). Freestanding tubs often require specific faucet mounting heights and spacing, especially for deck-mounted or wall-mounted spouts/handles.
Do a dry-fit with the tub in place (without sealant) to check: (1) drain alignment, (2) faucet reach and alignment, and (3) that the tub will sit level on the floor. If the floor is uneven, verify whether shimming is recommended by the tub manufacturer. 2) Choose the right faucet type and matching components
Freestanding tubs pair with different faucet strategies, and the “best” option depends on how your plumbing is set up. Common approaches include:
Match faucet components to your tub’s specifications, including required hole sizes, gasket/seal types, and the overflow/waste pathway. Mixing “almost compatible” parts is a frequent cause of slow leaks and water damage. 3) Drain and waste connections: align first, seal second
The tub’s drain assembly usually connects to the home’s plumbing through a specific adapter and gasketed interface. Proper alignment is critical: if the tub settles even slightly after connection, a misaligned seal can fail over time.
Sequence matters. Typically, you’ll install the drain components and test-fit them before final tub placement. Use the manufacturer’s instructions for gasket orientation and any recommended sealants (many drains rely on gaskets rather than heavy-duty caulks). Avoid over-tightening, which can deform parts and create leaks.
Once connected, run a water test: fill the tub partway (or test the drain flow as the instructions indicate) and watch for drips under the connection points. Address any leak immediately—don’t assume it will “settle” or dry out. 4) Setting the tub: level, support, and final placement
With the drain and faucet connections prepared, carefully lower the tub into its final position. Freestanding tubs can be heavy, so plan the safe handling method (additional help, moving straps, and protective coverings for floors and finishes).
Confirm the tub is level along both axes. If the manufacturer allows shims, use appropriate materials and ensure the tub doesn’t wobble. For installations with an overflow, verify that the overflow opening and associated components align correctly before final tightening and sealing. 5) Faucet installation and sealing: tighten correctly and protect finishes
Install the faucet according to its style. Deck-mounted setups usually involve mounting through the tub openings with gaskets below and above as specified. Wall-mounted setups require the correct supply line configuration and stable anchoring at the wall.
When tightening fittings, use controlled force and check that hoses/lines aren’t twisted. Turn on the water and check both hot and cold for leaks at every connection. Then run the faucet to verify water flow and that the temperature changes smoothly. 6) Finishing details: sealing joints and final checks
After plumbing tests pass, seal where appropriate based on manufacturer guidance—commonly at the tub base perimeter or at specific connection interfaces. Use bathroom-grade, water-resistant sealant intended for the surface type (porcelain/acrylic/stone and adjacent tile or flooring materials).
Finish with a final inspection: check for gaps, verify drainage works without pooling, and confirm that faucet hardware is firmly secured. If your installation includes a handheld shower or diverter, test those functions as well.
Done well, a freestanding bathtub installation is both visually striking and reliably leak-free for years. Done hastily, it can lead to hidden moisture issues. Prioritize planning, alignment, and water testing, and follow the tub and faucet manufacturer instructions at every stage.
| |
⏰ Dispatcher support 24/7
📞 224-754-1984CALL ☎ Subscribe 👆 FORUM 🗣
North Shore, Northwest suburbs of Chicago, IL
Next & Previous posts
Related articles:

| Total comments: 0 | |