


2:38 AM How to Install a Heated Towel Rail: A Practical Guide | |
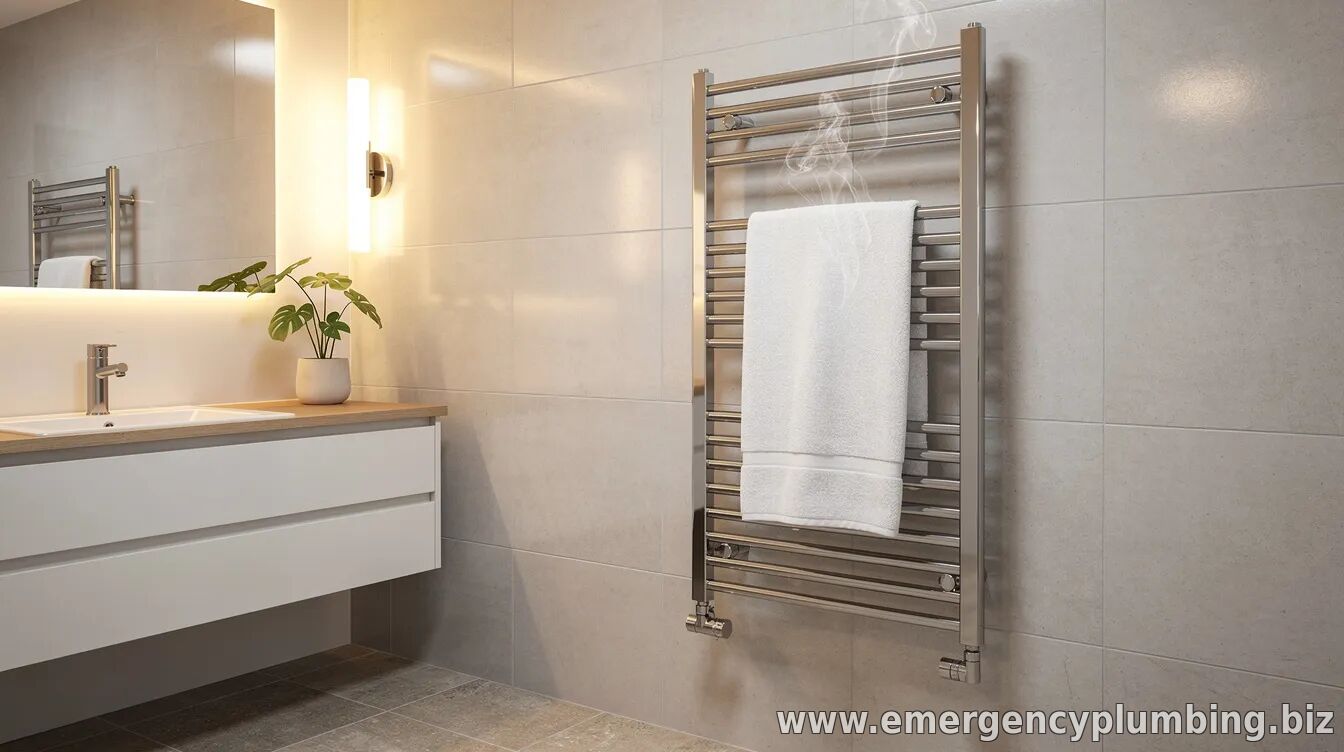
Installing a heated towel rail can transform a bathroom by adding both comfort and convenience. Whether you choose an electric model or a hydronic (water-filled) version, the right approach will ensure reliable warmth and a clean finish. Choosing the right type
Electric towel rails plug into a GFCI-protected outlet and heat independently of the home’s heating system. Hydronic models connect to the central boiler and circulate hot water through the rails. Consider available space, plumbing access, and local electrical or building codes when selecting between electric and hydronic options. Tools and safety
Common tools include a level, drill, screwdriver, adjustable wrench, pipe cutter (for hydronic), pliers, and silicone sealant. For electrical installs, ensure the circuit is de-energized and that a grounded outlet or dedicated circuit is available. If you’re unsure about plumbing or electrical work, consult a licensed professional.
Installation steps
1. Turn off power to the location or isolate the boiler loop if connecting to a hydronic system. 2. Measure for height and width, and mark mounting points at the level you want. 3. Drill wall anchors or prepare the plumbing wall plate according to the manufacturer’s instructions. 4. Attach brackets securely, using appropriate fixings for the wall type. 5. For electric models, connect to a properly rated outlet or hardwire per local codes; for hydronic models, connect to the heated loop using the supplied adapters and seal joints with PTFE tape. 6. Mount the unit and check for level alignment. 7. Restore power or boiler feed and bleed any air from the system if required. 8. Seal gaps around the rail with silicone to prevent moisture intrusion. Testing and final checks
Once installed, run the heater to verify even heat along the rails and listen for any leaks in the plumbing connections. Confirm that the thermostat or control is functioning correctly and that the unit has adequate clearance from walls, towels, and shower areas. If you smell burning insulation or notice buzzing sounds, switch off power and recheck connections or call a professional.
With proper installation, a heated towel rail should provide reliable warmth, reduce towel dampness, and enhance bathroom comfort for years to come.
| |
⏰ Dispatcher support 24/7
📞 224-754-1984CALL ☎ Subscribe 👆 FORUM 🗣
North Shore, Northwest suburbs of Chicago, IL
Next & Previous posts
Related articles:

| Total comments: 0 | |