


1:21 AM How to Detect Water Leaks with Smart Sensors | |
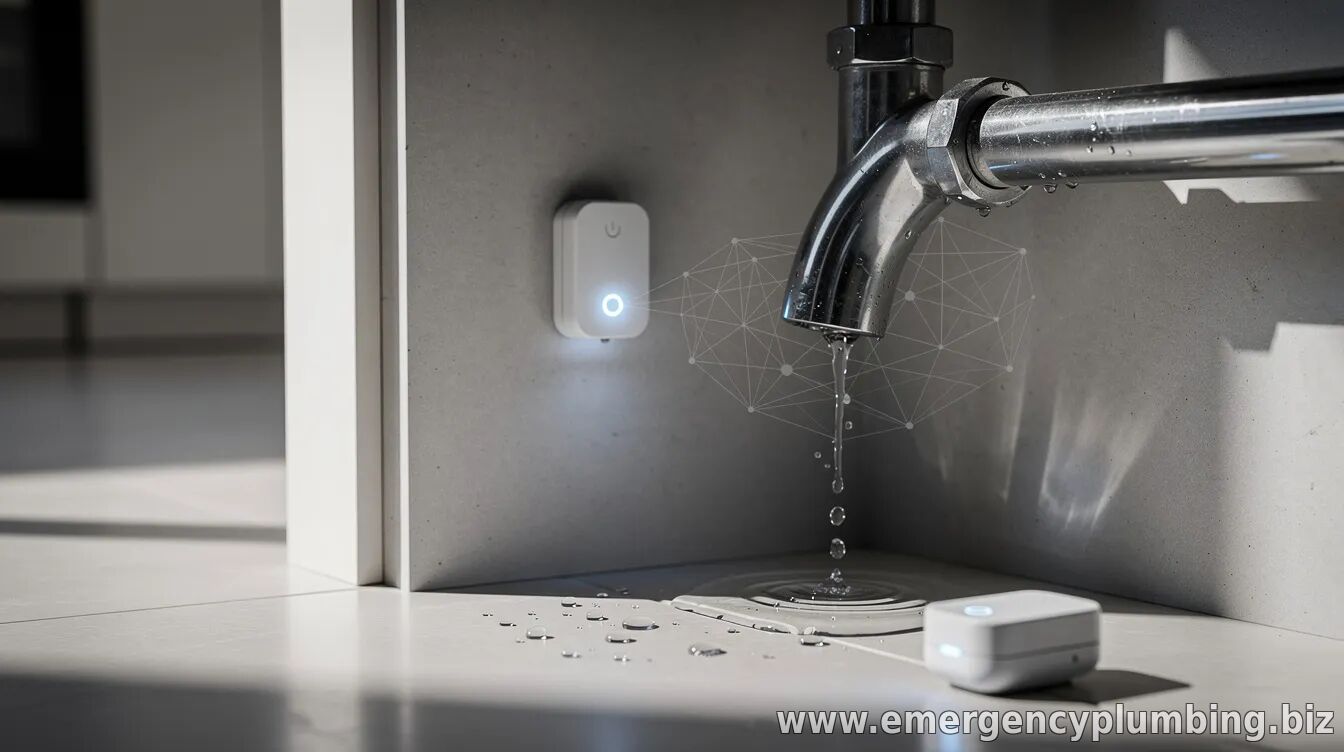
Water leaks are often invisible until they cause major damage—stained ceilings, warped flooring, or a sudden spike in utility bills. Smart sensors aim to shorten the time between a leak starting and a homeowner noticing it by continuously monitoring for signs such as moisture, abnormal flow, or pressure drops and then sending real-time alerts.
While no single device is perfect for every home, combining the right sensor type with thoughtful placement and correct settings can significantly improve leak detection coverage. Start with the right sensor type
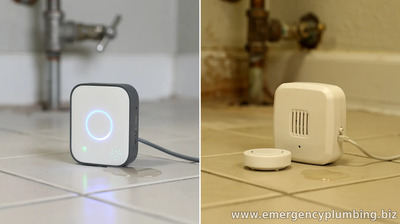
Most smart leak-detection systems use one (or more) of these approaches:
For best results, many households use moisture sensors for “spot” coverage and a flow/pressure monitor for “whole-home” detection. Place sensors where leaks are most likely
Coverage matters as much as technology. Install moisture sensors at the points where leaks commonly start or pool:
If your home has crawl spaces or basements, consider placing sensors where moisture tends to collect first (e.g., near sump pump discharge areas or along the path of supply lines). For larger areas, use multiple sensors to avoid “blind spots.” Use placement “rules” to reduce false alarms
Smart sensors are helpful, but poor installation can trigger nuisance alerts. Keep these best practices in mind:
For systems that use flow or pressure monitoring, false positives can happen when a sprinkler system runs, a toilet refills intermittently, or appliances cycle normally. Proper configuration helps distinguish “normal usage” from a leak pattern. Configure alerts and thresholds for your home
Most smart systems allow you to tune what counts as a leak. Take time to:
For flow/pressure systems, it’s also worth reviewing historical usage patterns so the system learns typical behavior—then tighten detection for “continuous flow” or “unexpected overnight usage.” What to do when an alert triggers
A smart alert should be treated as a prompt to investigate, not an automatic confirmation that you have a major emergency. A practical response can help you act quickly while minimizing damage:
First: If the device indicates active water (flow/pressure) or multiple sensors triggered, locate the likely source—start with the area(s) near the sensors and then check visible plumbing connections.
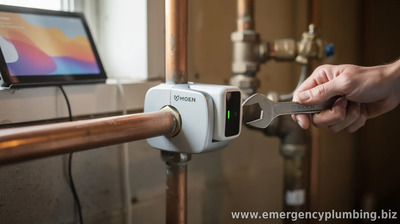
Second: If your setup includes a smart shutoff valve, understand how it behaves and whether it will cut off water automatically. If not, be ready to manually shut off the water supply if the leak seems significant.
Third: Document the issue (photos, time of alert, and affected areas). This can be useful for maintenance requests, landlord communications, or insurance claims.
Once the leak source is repaired, clear the alert state and retest where possible to confirm the system is functioning as expected. Build a detection “layer” for real-world reliability
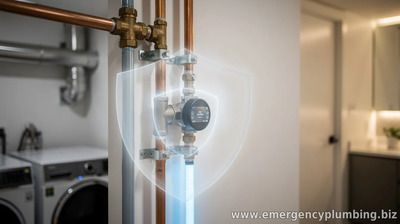
The strongest leak detection plans combine layered monitoring: moisture sensors for localized leaks, flow/pressure monitoring for hidden leaks that don’t reach the floor quickly, and optional automation (like shutoff) to reduce damage. Even then, sensors don’t eliminate the need for occasional checks—especially after plumbing changes, appliance replacements, or seasonal shifts in water use.
With the right sensor mix, careful placement, and properly tuned alerts, smart leak detection can shorten response time and help protect floors, walls, and your water bill.
| |
⏰ Dispatcher support 24/7
📞 224-754-1984CALL ☎ Subscribe 👆 FORUM 🗣
North Shore, Northwest suburbs of Chicago, IL
Next & Previous posts
Related articles:
| Total comments: 0 | |