

1:24 AM Garage Heater Installation: What’s Involved | |
Garage heater installation can range from a straightforward swap of an electric unit to a more involved gas or ducted project. Before buying equipment, homeowners typically need to assess the garage size, insulation, desired heating speed, and the fuel source available—because the “right” heater and the installation steps depend on those factors.
This guide outlines the main stages installers and DIY-ready homeowners should expect, from planning and prep to final testing. 1) Start with the right heater for your garage
The first decision is selecting a heater sized for the space. Oversizing can cycle inefficiently, while undersizing may fail to keep the garage at a usable temperature. Many installers begin by estimating square footage and considering ceiling height, air leaks, and whether the garage is insulated.
Next, match the heater type to what’s practical on-site:
2) Confirm power and/or fuel requirements
For electric heaters, installation usually includes checking the electrical panel, confirming wire gauge and circuit ratings, and ensuring proper disconnects where required. Some garage heaters may require dedicated circuits rather than shared outlets.
For gas models, installers verify gas supply pressure, confirm the availability of a suitable flue/venting path, and assess combustion air needs. Proper vent routing is critical for safety and efficient operation. 3) Choose placement and account for clearances
Where the heater goes affects performance and safety. Installers consider airflow, obstacles, and how people typically move through the space. They also follow manufacturer clearance requirements—especially around combustible materials, storage shelving, and garage door tracks.
If the heater is wall- or ceiling-mounted, placement can influence heat distribution. Some setups perform better when mounted higher to reduce cold spots near the floor, while others benefit from directing warm air toward work areas. 4) Prepare the site before mounting
Preparation often includes locating studs or appropriate mounting points, checking surfaces for level/structural integrity, and planning cable routing (electric) or vent routing (gas). Installers may also address gaps and drafts in the garage that can undermine heating efficiency.
In many cases, the most “involved” part isn’t the heater itself—it’s ensuring the surrounding setup supports safe wiring or venting and complies with local building codes. 5) Complete the installation: wiring/venting and controls
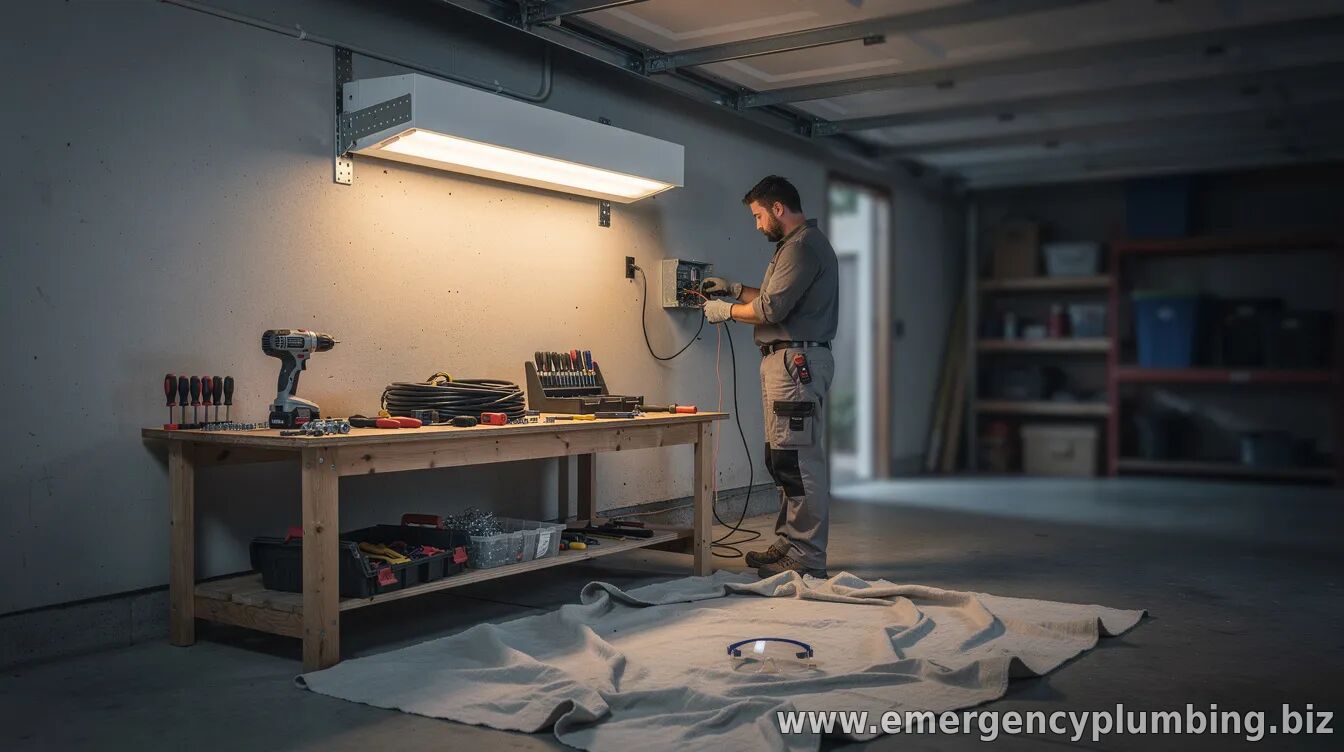
Electric installation typically includes mounting the unit, running properly rated wiring, making safe connections, and installing or configuring controls such as thermostats, timers, or smart switches where applicable. Many modern garage heaters are designed to pair with temperature controls to limit energy use.
Gas installation typically requires careful venting work, leak-safe connections, and correct setup of ignition and combustion components. Because gas work carries higher safety implications, many homeowners prefer licensed installers for compliance and reliability.
Regardless of fuel type, installers confirm that controls are positioned to measure representative temperatures and avoid “false readings” caused by direct heat blasts. 6) Test the system and verify safe operation
After mounting and connections, the next step is testing. For electric heaters, this typically includes verifying correct circuit operation, testing the thermostat response, and checking for unusual odors, noise, or heat at connection points.
For gas heaters, testing commonly includes verifying proper venting performance and conducting safety checks for gas leaks. A correct installation should also include a brief operational review—how to start, how to adjust temperature, and what maintenance tasks the owner should expect. 7) Plan for maintenance and long-term performance
To keep garage heaters efficient, owners should follow the manufacturer’s maintenance schedule. Common tasks include cleaning intake areas, checking for obstructions, inspecting vents (for gas units), and confirming that controls respond normally through seasons.
Even a well-installed heater can underperform if the garage has significant air leaks or insulation gaps, so improving weatherization can meaningfully reduce operating costs.
Ultimately, successful garage heater installation comes down to matching the unit to the space, meeting electrical or fuel requirements, installing safely with correct clearances and venting, and completing thorough testing. If your project involves gas venting or major electrical upgrades, using a qualified installer can help ensure both compliance and peace of mind.
| |
⏰ Dispatcher support 24/7
📞 224-754-1984CALL ☎ Subscribe 👆 FORUM 🗣
North Shore, Northwest suburbs of Chicago, IL
Next & Previous posts
Related articles: