


1:18 AM Radon Detectors: How to Choose and Where to Install | |
Radon is a naturally occurring radioactive gas that can seep into homes from soil and rock. Because it’s invisible and odorless, testing is the only practical way to know whether indoor radon levels are high—and the quality of your result depends heavily on the detector you choose and where you place it. Start with what you need to measure
Different detectors serve different purposes. Short-term devices can provide a snapshot suitable for faster decisions, while long-term tests are better for capturing seasonal variation and typically give a more representative annual average. Before buying, confirm the detector type, test duration, and whether the product is intended for residential radon measurement.
If you’re doing compliance-oriented testing (for example, prior to mitigation or under a local program), look for detectors that are recognized through established quality assurance schemes and follow published protocols. For many households, a tested, reputable lab process is as important as the device itself. Choose the right detector type
Most consumer radon testing falls into two broad categories: passive and active. Passive detectors generally require minimal setup and are often used for short- to long-term testing. Active systems may include continuous monitors that display readings in real time, which can be helpful for tracking changes—though they typically cost more and may require more careful calibration and interpretation.
When selecting a passive detector, review the manufacturer’s guidance on placement, exposure duration, and how and where you send samples (if applicable). With active monitors, verify performance specifications, data handling, and how the device reports units and measurement averages. Where to install: the most important factor
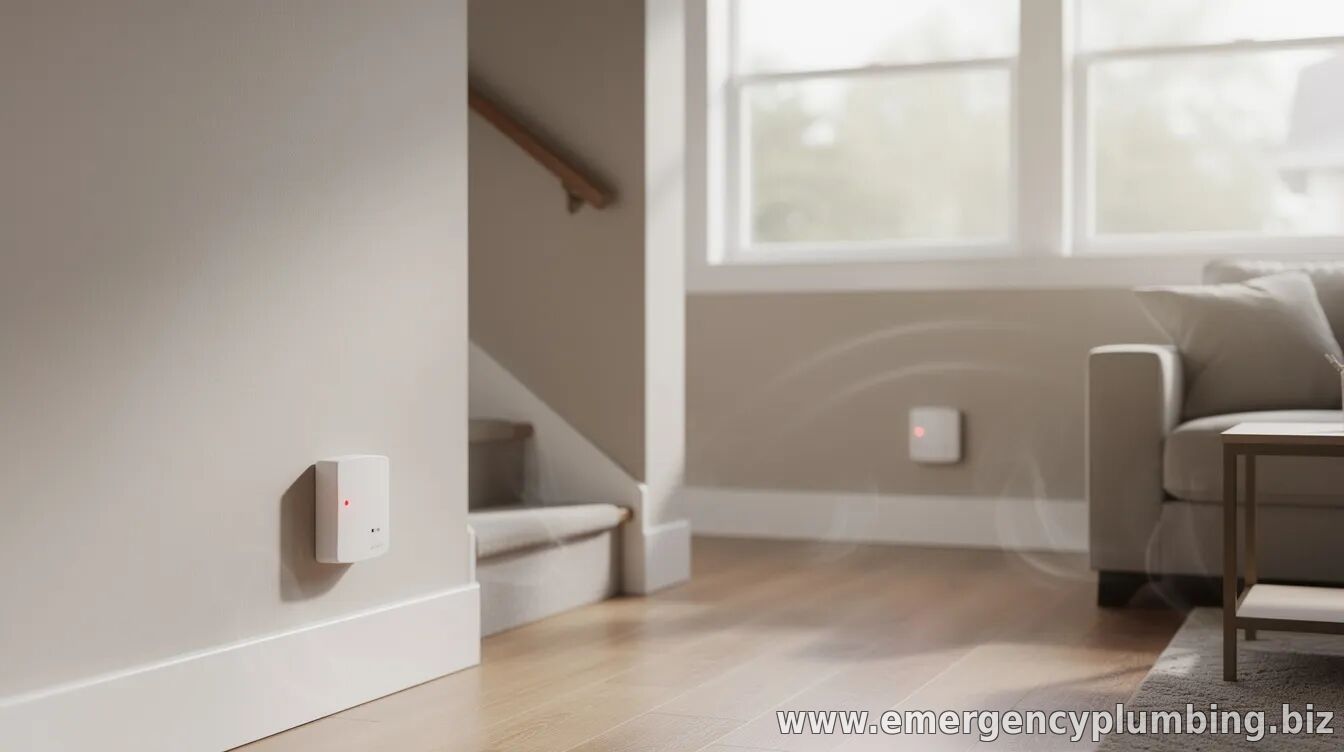
For reliable results, place the detector in the lowest lived-in level of the home where people spend significant time, such as a basement (if it’s used regularly) or ground floor. Avoid locations that can artificially skew readings—like near windows, exterior doors, or supply returns where air movement may change the concentration.
Put the detector at least a few feet away from walls and from major airflow sources when possible, and mount or place it at typical breathing-zone height (often described as around waist to chest level). Keep it away from direct drafts from HVAC vents, fans, or open doors. Timing matters: follow the conditions
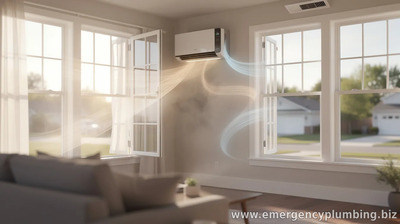
Many testing protocols recommend avoiding major changes in ventilation patterns during the test period. If possible, keep doors and windows closed as you normally would and avoid temporary measures—such as sealing attempts or construction activities—that could alter indoor radon behavior mid-test.
Also check manufacturer instructions about what to do if the detector is exposed to conditions outside the intended range (for example, unusual humidity, water exposure, or placement near damp areas). Consistent conditions help ensure your measurement reflects typical living conditions rather than a momentary spike or drop. Use multiple detectors when it improves clarity
If your home has more than one frequently used room on the same level, consider using additional detectors to understand variability. Similarly, if you suspect radon may differ between zones—such as an attached garage area, a frequently used basement office, or a portion of the home with different foundation characteristics—multiple test locations can provide a more complete picture.
Be sure to label detectors clearly and keep placement guidance consistent across units so you can compare results meaningfully.
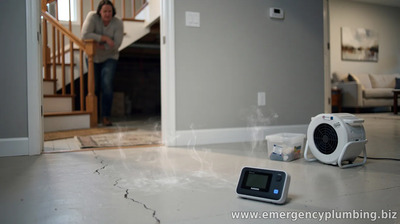
After you receive results, interpret them according to the detector’s reporting units and the recommended framework in your area. If the readings are elevated, many homeowners choose to consult a qualified radon mitigation professional. A well-executed follow-up test after mitigation is typically essential to confirm that levels have dropped and the mitigation system is functioning as intended.
In short: pick a detector that matches your timeframe and quality expectations, place it in the right room and breathing-zone height, and follow the operating conditions of the test. Those steps help turn radon testing from guesswork into actionable information.
| |
⏰ Dispatcher support 24/7
📞 224-754-1984CALL ☎ Subscribe 👆 FORUM 🗣
North Shore, Northwest suburbs of Chicago, IL
Next & Previous posts
Related articles:
| Total comments: 0 | |