

4:46 AM Low Water Pressure: Common Causes and Fixes | |
Low water pressure is one of the most common household plumbing complaints—and it’s also one of the trickiest to pinpoint. The “right” fix depends on whether the problem is limited to one faucet or affects the whole home, and whether you’re dealing with mineral buildup, a failing pressure regulator, or a supply-side issue. First: confirm the scope of the problem
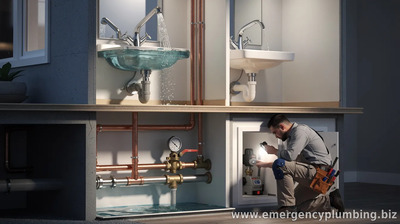
Start by checking multiple fixtures. If only one tap or shower head is weak, the cause is often local—like a clogged aerator or showerhead. If several faucets are experiencing low pressure, the issue is more likely upstream (in the plumbing system, a valve, the pressure regulator, or the municipal supply). Common causes of low water pressure
1) Clogged aerators and showerheads. Mineral scale can build up in faucet aerators and showerheads over time, restricting flow. This is especially common in areas with hard water.
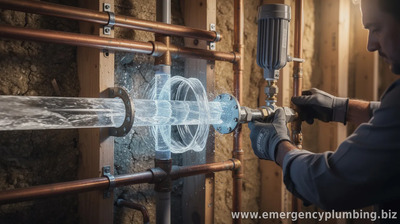
2) Sediment in the plumbing. Rust and sediment can accumulate in pipes or water heaters, reducing flow to fixtures—sometimes worsening after maintenance in your area or changes in supply.
3) Partially closed valves. If the shutoff valve under a sink (or near a main line) is only partly open, flow can be dramatically reduced.
4) Issues with a pressure regulator. Many homes have a pressure-reducing valve (PRV). If it fails or is misadjusted, you may see consistently low pressure throughout the house.
5) Leaks. Leaks aren’t only about wasted water—significant leaks can lower pressure. Look for damp spots, unexplained water use, or water meter activity when nothing is running.
6) Water-supply problems. Municipal maintenance, neighborhood-wide issues, or service interruptions can affect your entire area. How to troubleshoot and fix it
Step 1: Clean the faucet aerator and showerhead. Remove the aerator (use a cloth or wrench to avoid scratching), soak it in vinegar to dissolve mineral scale, and rinse. For showerheads, remove and soak similarly, then reattach.
Step 2: Check for blocked strainers. Some fixtures and appliances (like water filters and whole-house systems) include screens that can clog. Inspect and clean them according to the manufacturer’s instructions.
Step 3: Inspect shutoff valves. Make sure valves under sinks and near the main line are fully open. If you’ve recently had plumbing work done, confirm the valves were returned to the open position.
Step 4: Look at the pressure regulator (if your home has one). If low pressure is whole-home, the PRV is a prime suspect. Don’t force adjustments beyond safe limits. If you’re unsure, consider having a licensed plumber verify the settings and condition.
Step 5: Test for leaks. Turn off all water and watch the water meter for movement. If it changes, you likely have a leak somewhere—even if you don’t immediately see water.
Step 6: Flush the system (when appropriate). If you suspect sediment, ask a plumber about safe flushing procedures. Avoid harsh measures that could damage older plumbing. When to call a plumber
If low pressure persists after cleaning fixtures, checking valves, and ruling out leaks, it’s time for professional help. A plumber can measure incoming pressure, evaluate the PRV, inspect internal plumbing for scale or corrosion, and determine whether the problem is internal or coming from the municipal supply.
Quick safety note: If you notice signs of active leaks, water damage, or issues near gas-fired water heaters, prioritize safety and contact a professional promptly.
Low water pressure doesn’t have to stay a mystery. By narrowing down whether the issue is isolated to one fixture or affects your entire home, you can choose the most likely fix—often cleaning or adjusting components—before escalating to more complex plumbing repairs.
| |
⏰ Dispatcher support 24/7
📞 224-754-1984CALL ☎ Subscribe 👆 FORUM 🗣
North Shore, Northwest suburbs of Chicago, IL
Next & Previous posts
Related articles: